
What is a direct thermal label printer?
A direct thermal printer applies heat to specially coated label stock. It does not use ink or toner. For resellers, its main purpose is printing carrier and marketplace shipping labels as adhesive labels that can be applied without cutting paper or covering it with clear tape.
Thermal labels are intended for practical shipping and short-term identification. Heat, strong light, abrasion and some chemicals can affect the print over time, so direct thermal output is not the right choice for every long-term archival use.
Do you need one?
You can begin reselling with a normal home printer or an approved print-in-store option. A thermal printer becomes useful when label preparation is a repeated bottleneck: you are dispatching frequently, trimming sheets takes time, or ink and tape are becoming inconvenient.
Think in terms of the full workflow. The printer saves preparation steps, but it does not replace checking the buyer’s address, choosing the right service, weighing the parcel or packing the item safely.
Why 4×6-inch labels are common
The widely used shipping-label format is 4×6 inches, approximately 100×150 mm. It provides room for the address, service information and carrier barcodes while fitting many parcels. Our 500-label rolls use that 100×150 mm size.
Always match the label document and printer settings. A correctly sized label can still print badly if the PDF is scaled to A4, set to “fit” or rotated unexpectedly.
Setting up a thermal printer
- Inspect the package. Confirm the printer, power supply, connection cable and any guides or holder are present.
- Install the correct support. Follow the manufacturer’s current setup instructions for your operating system and chosen connection.
- Load the labels straight. Place the printable side in the correct direction and adjust the guides without crushing the roll.
- Calibrate the media. Let the printer detect the gap between labels so each print begins in the right position.
- Select 4×6 or 100×150 mm. Use the same paper size in the printer preferences and the application producing the label.
- Print one test. Check alignment, sharpness and barcode readability before printing multiple orders.
Using the Rongta RP425
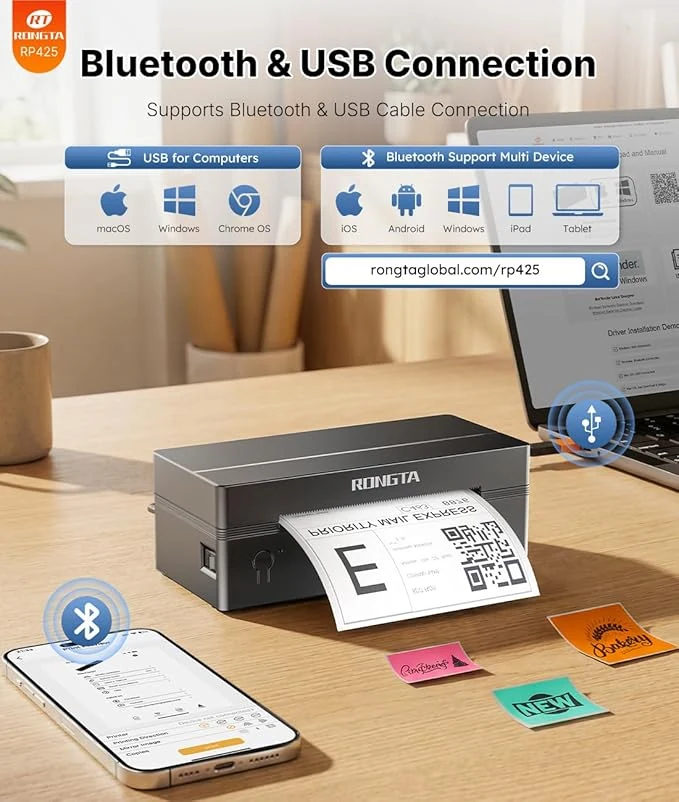
The Rongta RP425 is a 4×6 direct thermal label printer intended for shipping-label workflows. Before purchase, check the product listing for the included accessories, stated connectivity and compatibility with the computer or mobile workflow you plan to use.
For a dependable daily routine, keep the printer on a stable surface, store the labels away from strong heat and sunlight, and avoid dust or adhesive residue around the print path.
Common problems and what to check
The label is cropped or too small
Confirm that both the source document and printer preferences are set to 4×6 inches or 100×150 mm. Disable unexpected scaling and make sure the correct orientation is selected.
The printer skips labels or starts in the wrong place
Reload the roll, align the guides and run the manufacturer’s calibration process. Check that the printer is using the correct media-sensing mode for labels with gaps.
The print is faint or streaked
Check that the label stock is loaded on the printable side, adjust darkness and speed within the recommended settings, and follow the manufacturer’s cleaning guidance after the printer has cooled.
The barcode looks clear but will not scan
Reprint without PDF scaling, keep the barcode away from folds and seams, and make sure the finished label is flat. Do not cover a thermal label with tape unless the carrier specifically permits it.
The computer or phone cannot find the printer
Confirm the power and connection method, then check the installed driver, selected printer and operating-system compatibility. Test a wired connection where available to separate a connection problem from a print-setting problem.
What else belongs at the dispatch desk?
Keep a scale, tape measure, packing tape and a small selection of appropriately sized packaging nearby. Our order-packing guide explains when to choose mailing bags, padded envelopes or boxes and how to check the final parcel.
Set up your label workflow
Browse the Rongta RP425, 4×6 thermal labels and the beginner reseller starter bundle, alongside the packaging needed to finish each order.
View the Rongta RP425Shop 4×6 labels